Nick Franklin
Oct 30 2024

Title

Everything you need to know about studio signal levels

Different types of audio equipment produce and expect wildly varying signal levels. A microphone, for example, produces a fairly weak signal that requires a lot of amplification to be useful, where a mixing desk or audio interface produces a healthy line level signal ready to be received by many other devices. In order to interconnect our various studio devices we sometimes need an intermediary device to convert the signal level so that all our gear behaves nicely, free of distortion and unwanted noise.


Read on to take a look at the four main studio signal levels we deal with while recording and when to use them. I’ve arranged these in order from lowest signal level to highest.

But first...

Watch Oly break down signal level conversion in 30 seconds

Our charming Production Manager Oly Marlan knows a thing or two about audio signal levels. From building and  running studios with our Founder Nick Franklin to lecturing up and coming audio engineering students for over a decade, Oly knows his volts! 


Let him break it all down for you in this handy 30 second educational film.

Poster

1. Microphone Level

RANGE

1mV — 10mV

SOURCE

Mic, DI

DESTINATION

Mic Preamp

Title
Title

Microphone level describes the range of signal levels typically produced by microphones. While it does vary significantly from microphone to microphone it could be generalized to approximately 0.001 volts (1 millivolt) to 0.01 volts (10 millivolts). 


A low output microphone like a Shure SM7 produces a lot less level than a hot condenser microphone but both signals would be considered part of the microphone level range. The output of a DI box also produces microphone level, but more on that later!

Title

How do I record it?

Mic Level > Mic Preamp

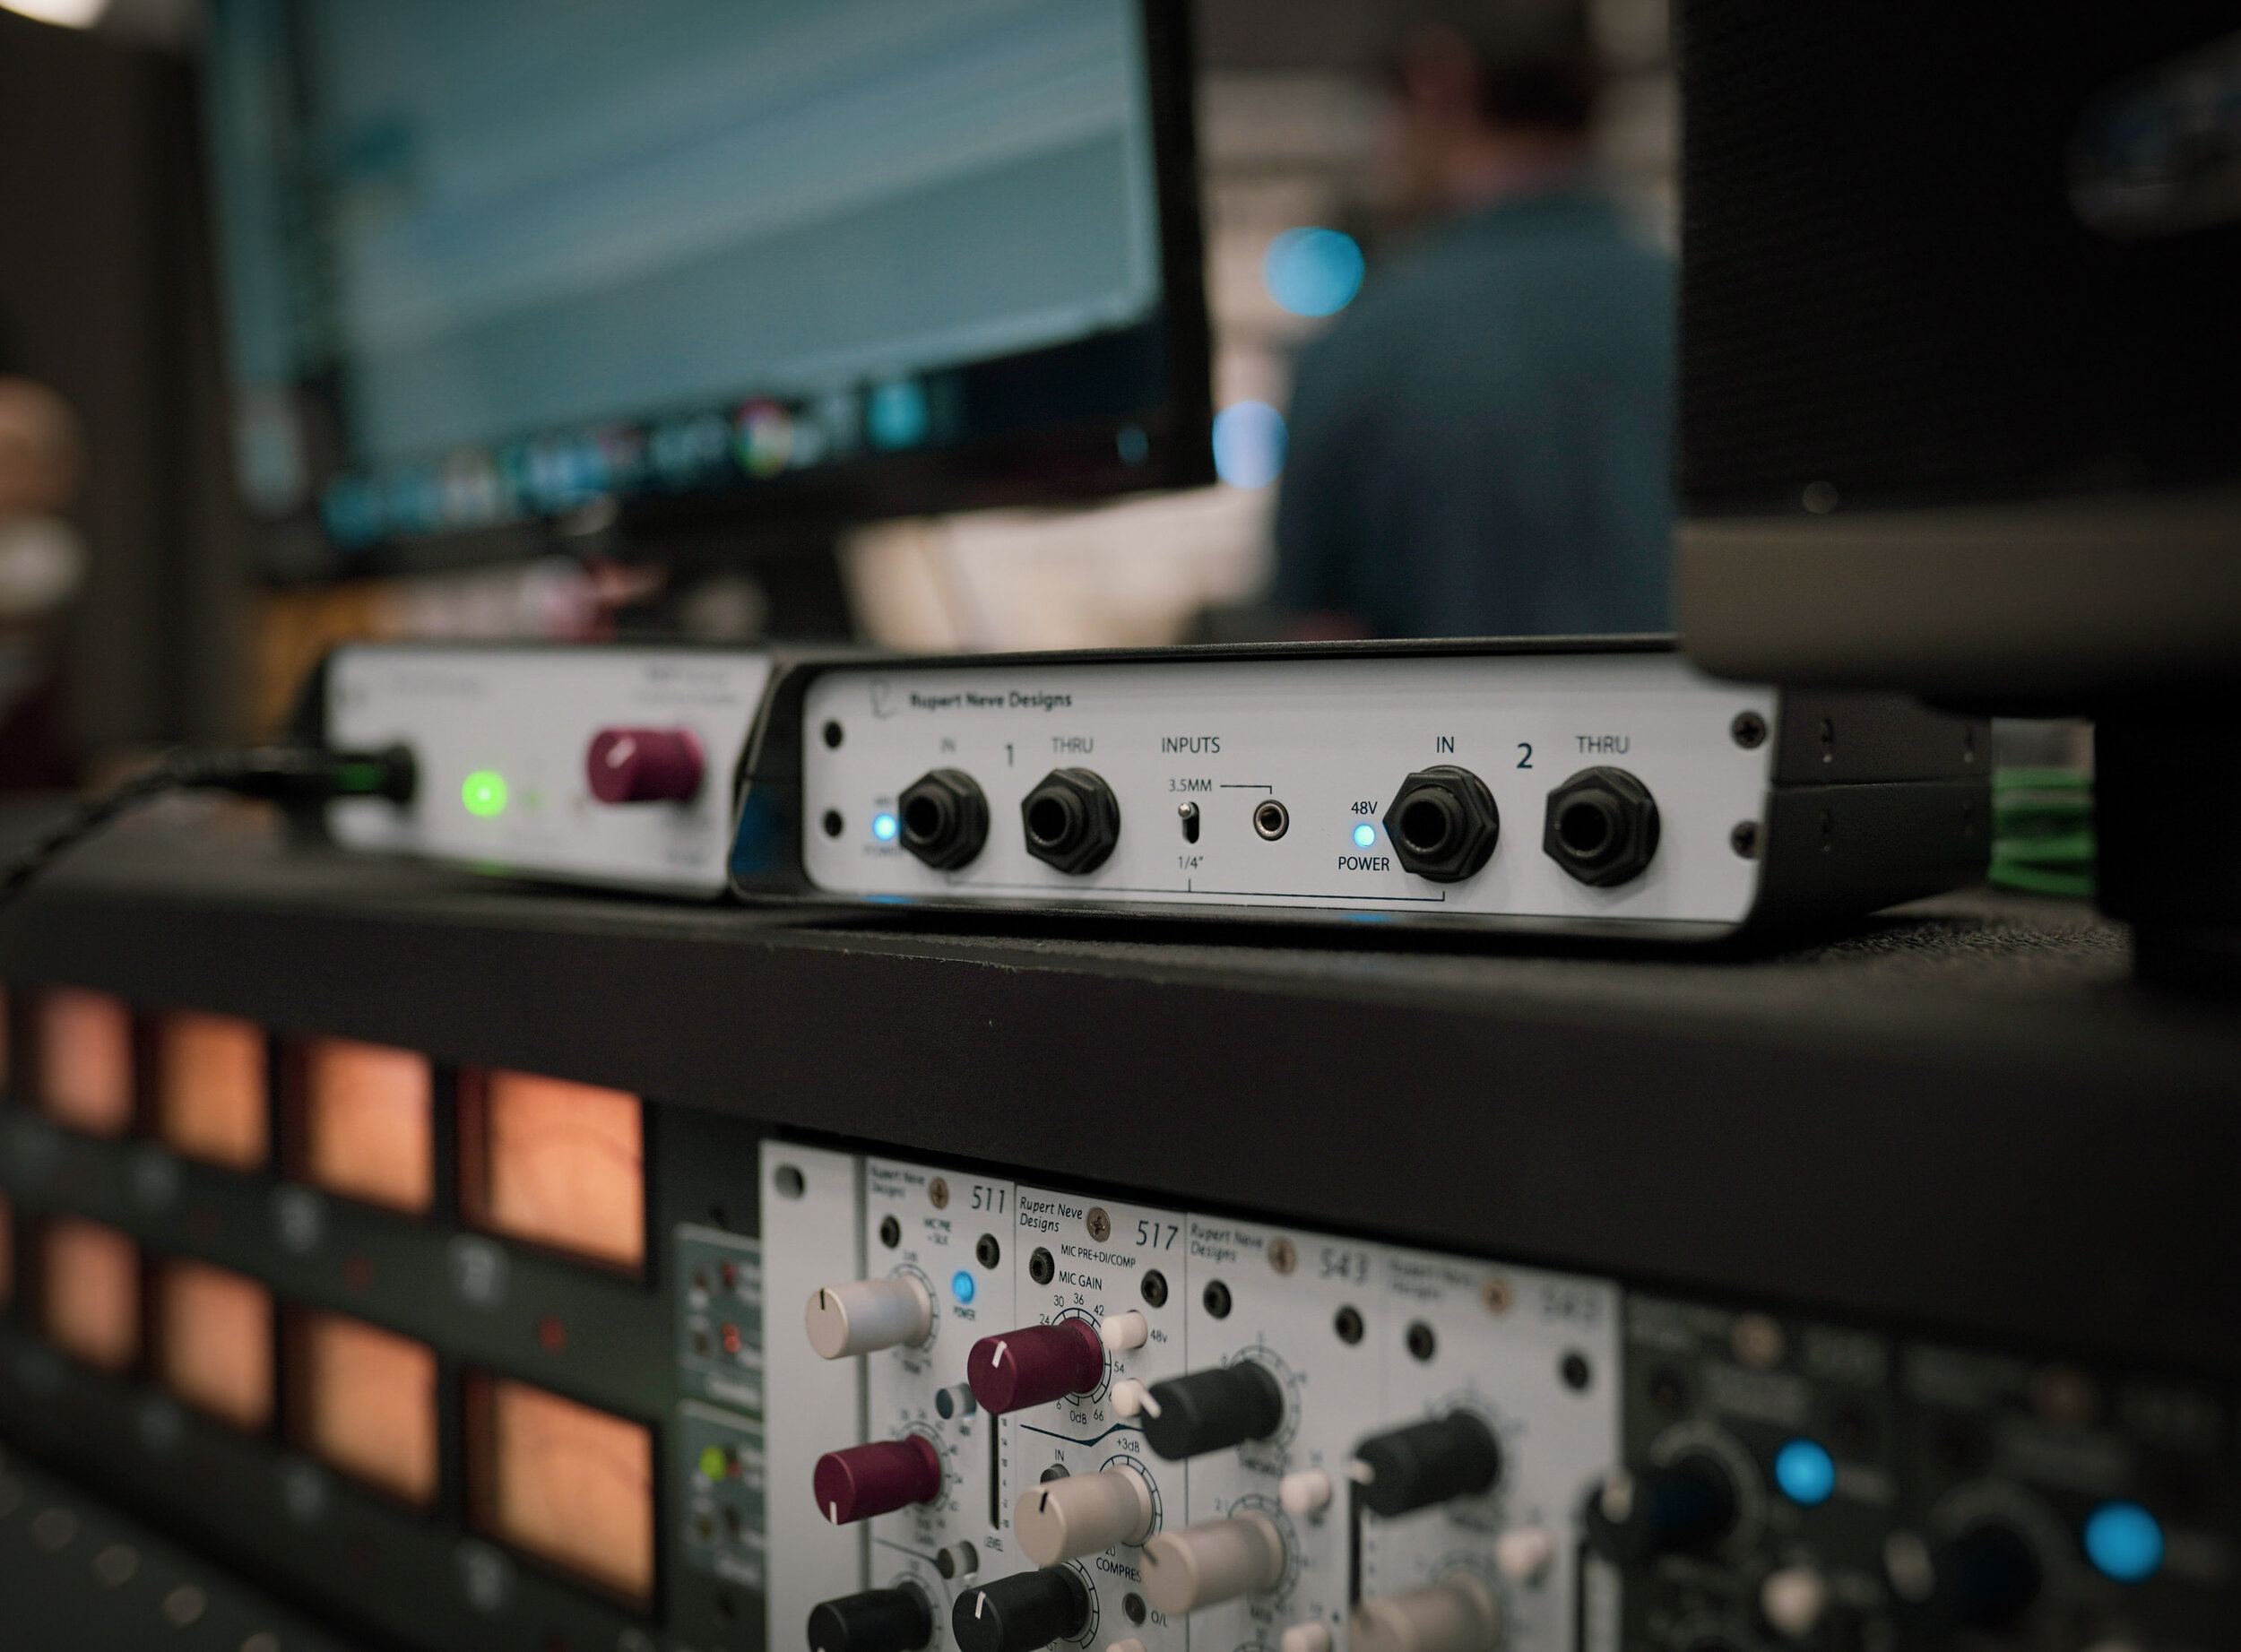
Microphone preamplifiers or “mic pres” are amplifying devices that accept the very low level microphone signal and amplify them significantly, converting the signal to line level. Because the difference between microphone level and line level can be great, amplification of up to 60 or even 80dB might be required.


In modern home studios the microphone preamplifiers are often contained within an audio interface, their operation is somewhat invisible to the user. This has created some confusion and unnecessary differentiation between outboard or standalone mic preamps and those built into audio interfaces. 


The function performed by each is the same; to amplify low level microphone signals to line level. In the case of an outboard mic pre, this line level signal is now available to the user in the form of an output to be connected to other studio devices like compressors or equalizers. In the case of the audio interface mic preamp, the line level signal is passed internally on to the interface's analogue to digital converter circuit.

Title

Which mic pre?

Outboard Mic Preamp

PROS

Sounds great!

CONS

Expensive, limited inputs

BEST FOR

High-end set-ups

WE LIKE

Neve 1073,
API 312

NOTES

Standalone outboard mic preamps offer a distinct colour and flavour, and their larger form factor allows for the use of high quality transformers for extra mojo! Good ones can be expensive, but if you typically record just one source at a time then an outboard mic preamp can be a great investment.

Internal Interface Preamp

PROS

Integrated & convenient

CONS

Quality varies with brand

BEST FOR

Home set-ups

WE LIKE

UAD Apollo, Evo 8

NOTES

Due to physical limiations, mic preamps in audio interfaces are designed without transformers and other large components. This means they usually sound quite clean, without a distinct colour. Because they're built into the interface there's no way to patch a compressor or EQ unit after the preamp so it's difficult to commit to a sound during the recording phase.

Mixing Desk Preamp

PROS

Hands on, lots of inputs

CONS

Bulky

BEST FOR

Multitrack set-ups

WE LIKE

Soundcraft, Old Tascams

NOTES

Mixing consoles are a great way to get your hands on lots of mic preamps in a relatively affordable package. Old Tascam and Yamaha consoles have preamps with heaps of mojo for a fraction of the cost of buying individual preamps. If you record  multitrack sessions, especially with drums then a console is a no-brainer!

2. Instrument Level

RANGE

40mV — 500mV

SOURCE

Guitar, Bass, Synth

DESTINATION

DI, Amp

Title
Title

Instrument level is the signal level generated by a typical electric guitar or bass. Just like microphone level the specific level varies quite a lot, with passive pickups in a Tele or Strat outputting less than a humbucker and even less still than a battery powered active pickup. 


The exact level depends on how hard the instrument is played so it can be hard to pinpoint exact voltage levels but anywhere from 40-500mV could certainly be considered instrument level.

Title

How do I record it?

Instrument Level > DI Box

Due to the sheer abundance of microphone preamps in interfaces and mixing desks they have become a desirable and convenient way of direct recording instruments like guitars, basses and keyboards. However, because the level generated by these instruments is significantly greater than that of a microphone, connecting them directly to the preamp would result in severe overload causing distortion. While this can actually be a fun and unique fuzz effect in creative applications it is often not desirable when a clean and clear direct sound is in order!


Enter: The DI Box. A DI (direct inject) unit takes the hot instrument signal and attenuates it to something closer to microphone level. The amount of attenuation is often between 20 and 30dB, and if the DI box offers a pad switch it can be as much as 40 or 50dB. Now the mic preamp sees a much more appropriate signal level allowing the user to adjust the preamp’s gain control to obtain a healthy level for recording.


Many audio interfaces now offer a DI input for conveniently capturing DI guitar or bass, however standalone DI boxes offer some distinct advantages. Most feature a handy “through” connector for linking to an amp allowing the user to capture the direct signal from the instrument at the same time as the amp, via a microphone.

Title

Which DI?

Passive DI

PROS

Rock solid, sounds great!

CONS

None, it's a Franklin 😎

BEST FOR

Everyday use

WE LIKE

NOTES

It's no secret that we love transformers here at Franklin Audio which is why we designed our passive DIs around a super beefy custom transformer. A passive DI is a great daily driver. They sound excellent on all sources and require no power. 

Active DI

PROS

Bright, clean sound

CONS

Needs power, less headroom

BEST FOR

Acoustic instruments

WE LIKE

RNDI-1, Palmer PAN02

NOTES

Active DI boxes use active electronics to provide a clean and clear path for low output sources like acoustic guitar pickups. They do work on other sources too, however it's possible to overload the internal circuitry which doesn't always sound too good! 

Tube DI

PROS

Big vibe, looks cool

CONS

Expensive

BEST FOR

Bass

WE LIKE

REDDI, UA Solo 610

NOTES

Tube DI boxes are more akin to a DI and a mic preamp in one box. They use a vacuum tube to provide the amplification which results in a thick and warm sound with rich harmonics. They are a great way to track bass guitar and people often prefer them to recording through an amp.

3. Line Level

RANGE

0.775V/0dBu

SOURCE

Interface, Tape Machine

DESTINATION

Outboard gear, re-amp

Title
Title

Line level could be considered as close to a “standard” signal level as we have in the studio. 


Professional line level is defined as 0.775V = 0dBu. The numbers don’t matter too much in practice but it is important to understand this is the signal level you find at the output of a mixing desk, the output of most outboard EQ and compressors, and it's the signal level that your active studio monitor speakers are expecting at their input. 


The signal level is healthy and doesn’t require further amplification when interconnecting these kinds of devices.

Title

How do I record it?

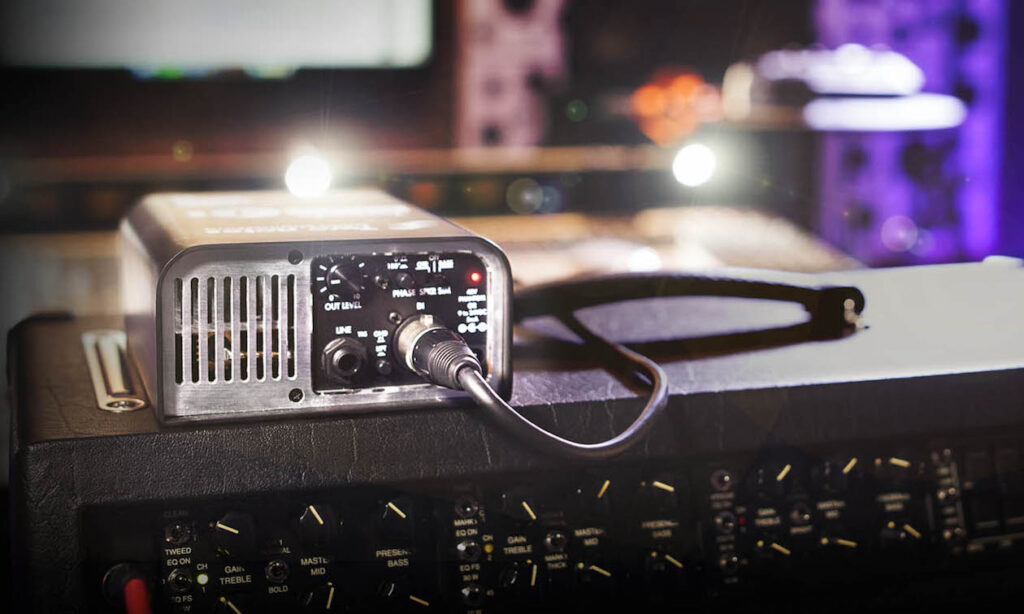
Line Level > Re-Amp Box

Over the last couple of decades a process known as re-amping has become increasingly popular in studio work. The basic premise is to take pre-recorded material, be that a DI guitar or bass or even drums, loops and keyboards and run it through devices that are ordinarily designed to accept instrument level signals. 


This offers a great number of creative opportunities we’ve outlined in detail in our re-amping blog you can find here.


Because pedals and amps are designed to accept instrument level signals, connecting them directly to the output of the audio interface (which is producing hotter, line level signals) results in unwanted saturation and reduces the headroom available in the pedal or amp. 


This is where the re-amp box comes into play. It takes the line level signal from the interface and attenuates it by 12-24dB creating a signal that is much more akin to that generated by a guitar or bass. The pedals and/or amp are now receiving the signal level they expect will sound much better because of the increased headroom.

Title

Which Re-Amp Box?

Basic Re-Amp

PROS

Does the job

CONS

Limited flexibility

BEST FOR

Basic re-amping

WE LIKE

Walrus Canvas, Little Labs

NOTES

A standard re-amp box does what it says on the tin. It converts balanced line level signals to instrument level. Depending on the model they sound more or less like your instrument but due to the fixed output impedance sometimes you'll notice the sound out of your pedals or amp doesn't sound quite like when you plug your guitar straight in!

Variable Impedance

PROS

Flexibility & control

CONS

Too much fun? 🎉

BEST FOR

Creative discoveries

WE LIKE

RA-10, RA-20

NOTES

Our RA-10 is a re-amp with a difference. Our unique output impedance (Z) control let's you mimic the way your instrument interacts with your amp or pedals, getting you much closer to the tone you're familar with. When re-amping other sounds like drums and keys you can use the Z for creative tone shaping!

Re-Amp + Return

PROS

Re-Amp and Preamp

CONS

Show-off 🤹

BEST FOR

Re-amp freaks

WE LIKE

RA-100

NOTES

If your re-amping doesn't involve an amp and you're just using pedals, you'll need a way to get the instrument level signal back into your interface. A re-amp and return offers a bonus instrument preamp that amplifies instrument level signal from the output of your pedals to line level. It's an all-in-one solution for pedal re-amping!

4. Speaker Level

RANGE

10V — 100V

SOURCE

Power amps

DESTINATION

Speaker cabinet, load box

Title
Title

This is the signal level required to push an actual moving speaker. As you can imagine this needs to be significantly higher than any of the levels discussed earlier as great energy is required to move the physical diaphragm of the speaker and create sound in the air. 10V-100V in really big systems is not uncommon. 


The output of a guitar or bass amp head produces speaker level, as do the outputs on a standard hifi amp receiver unit. Headphones are also speakers and thus require some version of speaker level to operate, albeit not as large as that required to move large PA speakers!

Title

How do I record it?

Speaker Level > Load Box

In order to drive a passive speaker like a guitar cab, passive studio monitor or a passover hifi speaker we need something to massively amplify the line level signal and generate enough power to move the speaker back and forth to create acoustic energy. Power amplifiers take many forms but they all perform a similar function in that they can take a line level signal and move a speaker.


Guitarists who use amp heads and speaker boxes will already be familiar with power amps as their amp heads contain one, and if you have an older style hi-fi with individual components you’ve likely already been using a power amplifier.


For many years now studio monitors have been trending towards the “active” variety which makes the power amplifier somewhat invisible to the user, but if you’ve got active speakers by the common manufacturers like KRK, Yamaha, Dynaudio and more then you are already using a power amplifier every time you hit the studio. In this instance the amplifier is built into the speaker enclosure. The XLR or jack on the rear of the speaker accepts the line level signal and passes it on to the internal amplifier which in turn drives the speakers.


Headphones contain small speaker drivers which also require a power amp to get them moving. In this instance the amplification required is significantly less, so this variety of amp is given its own name: the headphone amplifier. These are found in almost all modern audio interfaces and can also be purchased as standalone units with extra features.


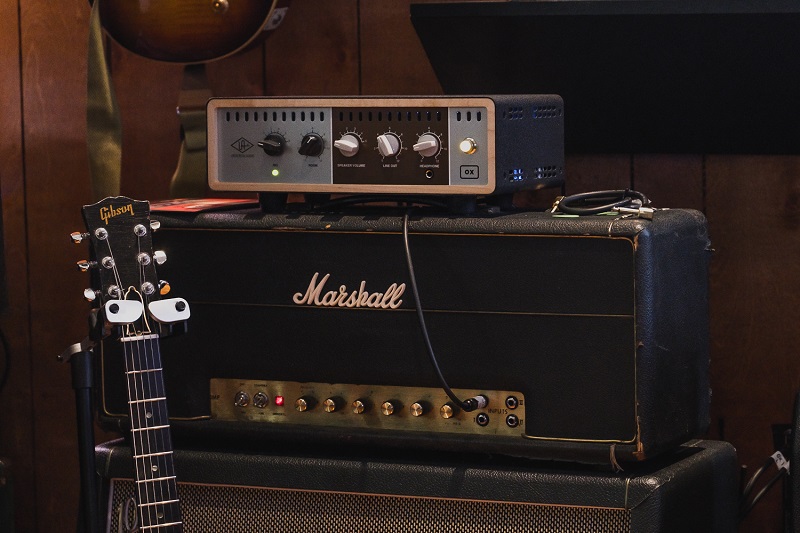
The reverse level conversion, getting from speaker level to line level is less common but still valid. If you would like to record the output of your amplifier directly, without a speaker box attached to preserve your relationship with your neighbours then a device called a load box is required. These are sometimes also referred to as a power soak or an attenuator.


These devices use speaker coils or big resistors to “soak up” the huge power generated by the amplifier and attenuate it way, way down to line level for recording. Units by Universal Audio, Weber and Two Notes have become increasingly popular as home studios where loud noises are not feasible become prevalent. 

Title

Which Load Box?

Standalone Analogue

PROS

Captures your amp sound safely

CONS

Limited cabinet sounds

BEST FOR

Everyday use

WE LIKE

Two Notes Captor 8

NOTES

A standard load box let's you safely capture the sound of your amp heads and sometimes include a couple of basic cabinet simulations. If you're accustomed to using cabinet sims inside your DAW they can be a great way to capture the amp tone cleanly for further manipulation in the box!

Software-based

PROS

Huge range of cabinet options

CONS

Expensive

BEST FOR

Guitar amp afficionados

WE LIKE

UA Ox Box

NOTES

Load boxes like the UA Ox Box not only provide the features of a more conventional load box but include comprehensive cabinet and mic simulations that can even be updated and tweaked in software. You can pull genuinely convincing "mic'd up cab" tones from these things but they are not as affordable as more conventional boxes. 

Conclusion

While the plethora of different signal levels can seem intimidating at first, understanding these four common standards is really all the average studio user needs to get going. Below is a handy table to refer to when you’re unsure of which device is appropriate for interconnecting your studio gear!

Source

Instrument

Microphone

Audio interface output

Line-level source

Power amplifier

Destination

Line-level device

Microphone preamplifier

Pedals or guitar amp

Passive speaker

Line-level input

Device

Microphone preamplifier

DI box

Re-amp box

Power amplifier

Load-box/power soak

Happy recording!

×